
This section defines Overall Style, Format, Header, Title, T&C and Footer sections in more detail.
Template Name – Name of the template which end user will see while generating PDF
Object – PDF templates are designed for specific object and any Standard or Custom object can be selected which is present in your org.
Active – Template will be available for end user to use only when it’s active. As template design/admin, you can check the design using preview option even if it’s inactive
PDF Name – The name of the document generated using this template and saved under Files and Notes & Attachment related lists. You can use merge fields to append dynamic information to PDF name as well, for example, you can specify the name as – Quote for {!Account.Name}, which will append Account Name dynamically. You can insert merge field using field picker.
If you want to have today’s Date or Time stamped in PDF name, you can manually type functions like {!Today}.Date or {!Today}.DateTime, for example, “Quote for {!Account.Name}-{!Today}.DateTime”.
If this field is left blank, name of the PDF will be same as record name by default.
Page Size – Select Page Size or orientation for the PDF
Page Number Format – Select the format of the page number that is displayed in the footer of the PDF
Date Format – Select the format for Date and DateTime type fields. The field values are formatted when {!fieldAPIName} is appended with “.Date” or “.DateTime” function.
For example – {!CreatedDate}.Date or {!CreatedDate}.DateTime. If the “Date Format” is blank or these functions are not appended, the PDF will print date as per the logged-in user locale.
Time Format – Select the format for Time and DateTime type fields. The field values are formatted when {!fieldAPIName} is appended with “.Time” or “.DateTime” function.
For example – {!CreatedDate}.Time or {!CreatedDate}.DateTime. If the “Time Format” is blank or these functions are not appended, the PDF will print time as per the logged-in user locale.
Background Color – Background color for entire PDF can be specified. Be default white is selected but can be changed using color picker

Following are the common design and automation features for all of these sections – header, title, t&c, and footer
WYSWYG editor : has been provided to format the content for example, text styling, alignment, color, font family, size, hyperlinks etc. We recommend using table feature for better alignment of the content similar to MS Word. You can show content in the table table with or without border.
Use image icon to upload images from local drive or insert from a URL. To resize the image, right click the image and change Height and Width of the image.
Check video tutorial for more details on design concepts.
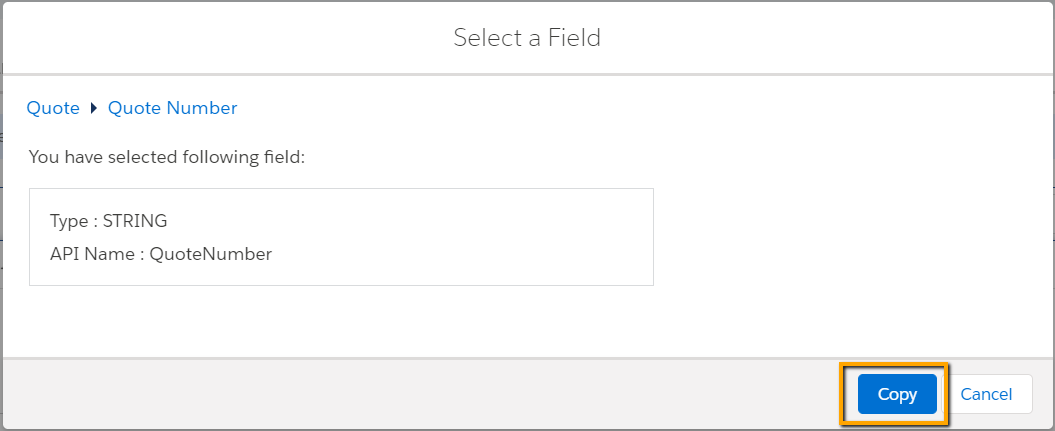
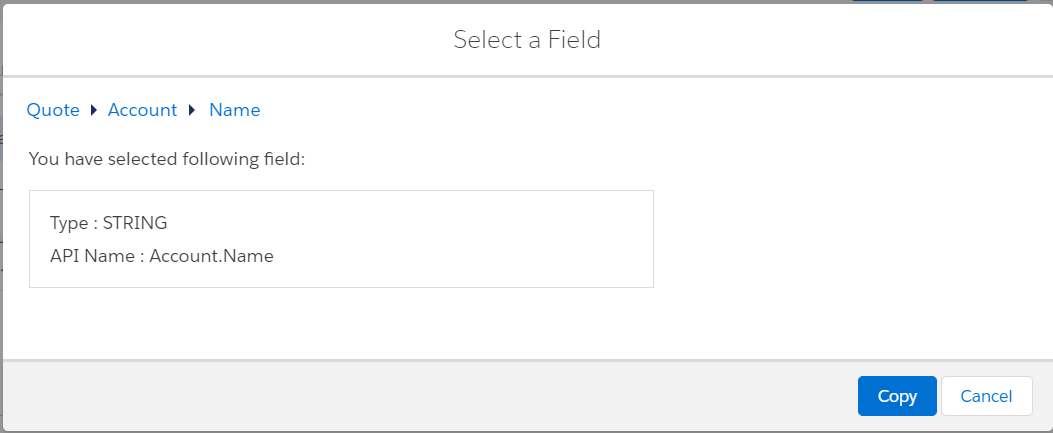
Choose Field : You can pull SFDC data into PDF using merge fields. Data can be pulled from the object which is selected in Overall Style tab or from any related object (i.e. objects which are having lookup/master-detail relationship with that object).
For example, if Quote object is selected in Overall Style for the PDF, you can insert any Quote field or any field from the related objects to Quote like Opportunity, Account, CreatedBy, or any other related object.
Use Copy & Paste (Ctrl V) to paste in the editor.
Following are the merge field formats –
{!FieldAPIName} – for the fields on same object the template is designed for.
{!ObjectAPIName.FieldAPIName} – for the fields on the related object.
Note: Please note Address fields are composite fields and values are stored in separate fields in SFDC database so for printing entire address we need to use following API names –
{!BillingStreet}, {!BillingCity}, {!BillingState}, {!BillingCountry} {!BillingPostalCode}
PageBreak: This button inserts merge field to insert Page Break in the format {!PageBreak}. Any content after this keyword will always start from new page
Today: This button inserts merge field for printing date of PDF generation in the format {!Today}.Date. It prints the date in the format selected in Overall Style tab.
Page#: Page number can be printed dynamically and page number format is shown in the format selected in Overall Style tab. X & Y values are replaced with dynamic numbers based on total number of pages. It inserts following keyword in merge fields format – {!PageNumber}
This is similar to MS Word Header and is repeated in all pages of the PDF.
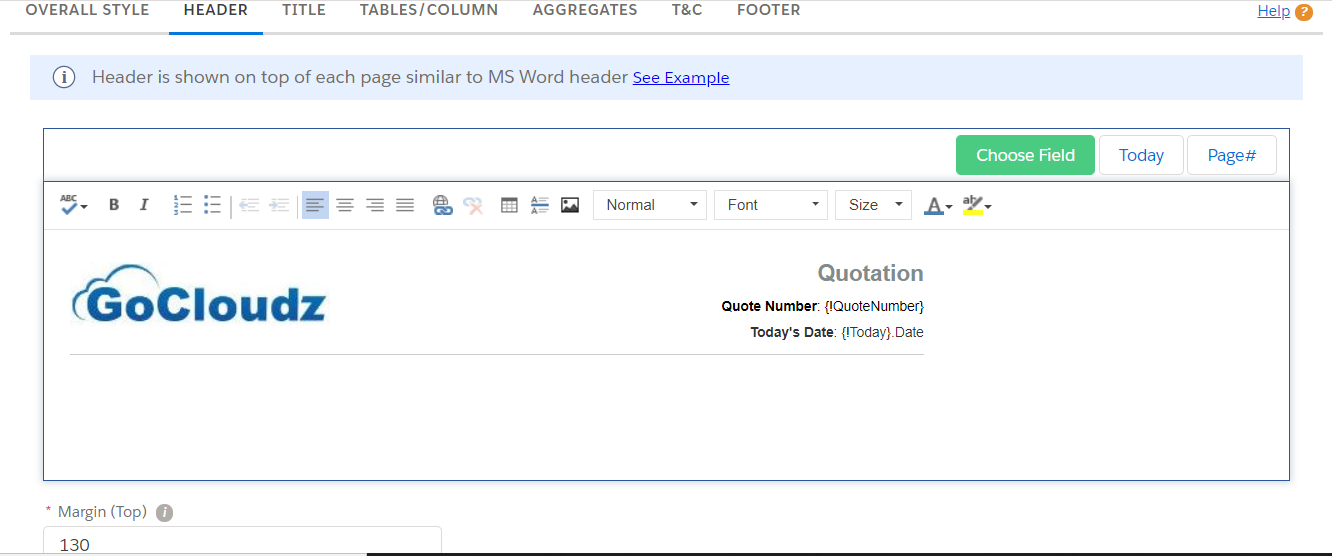
Margin (Top) : It defines spacing from top of the page. Margin value should be reduced or increased based on the header content height.
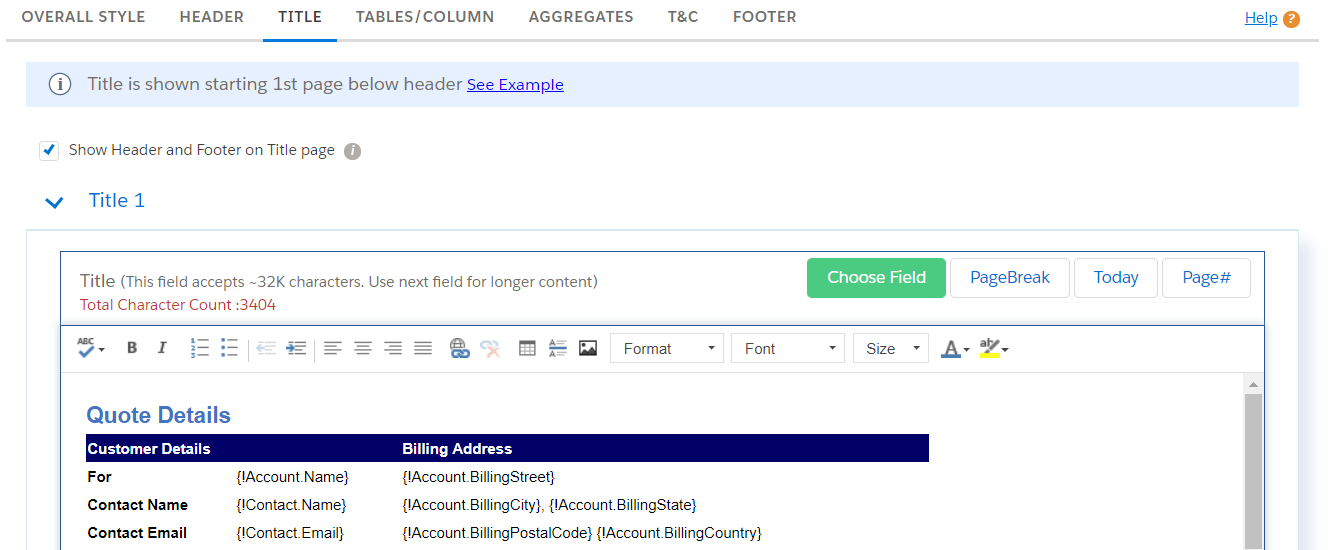
Title content is shown after header starting with first page of the PDF.
Show Header and Footer on Title Page : This controls whether Header and Footer will be shown on the first page of the PDF
Title Fields : WYSWYG editor has been provided to format content on first page of the generated PDF.
Note: We have provided 2 Title fields to allow large content
T&C content is shown after PDF Tables which is discussed in separate section of this tutorial.

If you are not using PDF Tables, you may not use T&C fields and all content can be designed in Title section (provided content size doesn’t exceed Title fields character limits).
Multiple fields have been provided to allow accommodating large content.
Please see E-Signature section if you like to include e-signature tags
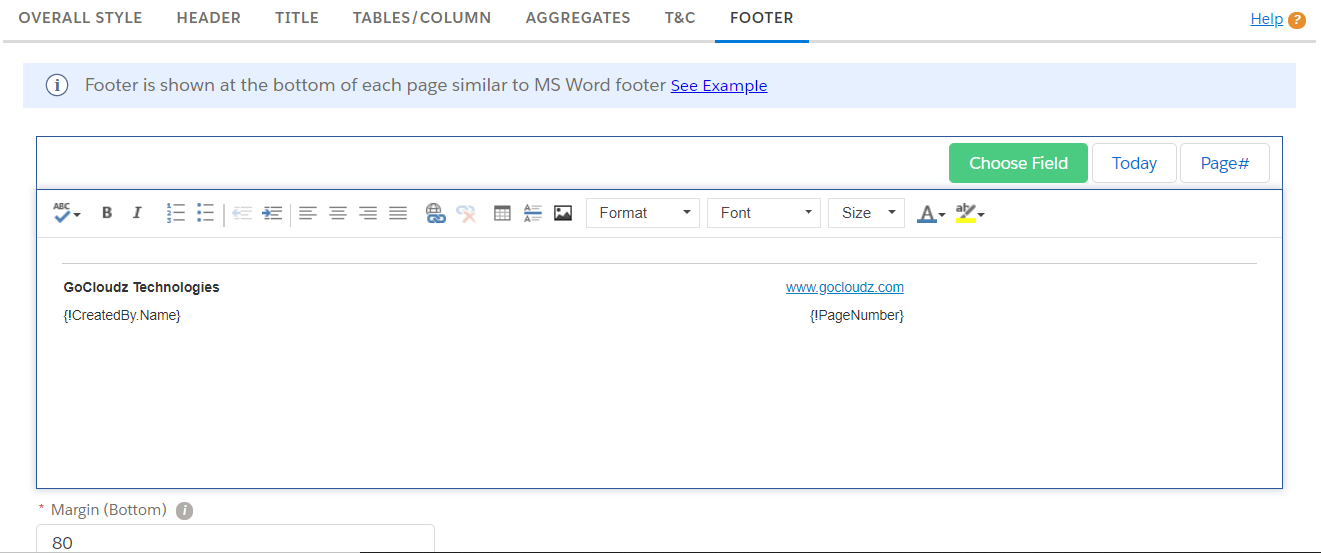
This is similar to MS Word Footer and is repeated in all pages of the PDF.
Margin (Top) : It defines spacing from bottom of the page. Margin value should be reduced or increased based on the footer content height.
Following are the details of the functions that can be appended to the merge fields in the sections described above. The functions are case sensitive so please ensure to use in the same format described below. Most of the functions are already appended when merge fields are copied using Field pickers based on the field type but some functions. Few keywords like .Translate, Label Tags need to be typed manually.
| Function | Description | Supported Field Types | Example |
| .Date | Formats the Date & DateTime fields as per the format selected in the Date Format picklist above | Date DateTime | {!CreatedDate}.Date {!ExpirationDate}.Date |
| .DateTime | Formats the DateTime fields as per the format selected in the Date Format and Time Format picklists above | DateTime | {!CreatedDate}.DateTime |
| .Time | Formats the DateTime fields as per the format selected in the Time Format picklist above | DateTime | {!CreatedDate}.Time |
| .Currency | Formats Currency and Numeric fields to currency as per the logged-in user locale. If multi-currency org, it shows currency code (USD) otherwise shows currency symbol ($). (If you don’t want currency symbol, use .Number function instead) | Currency Number | {!TotalPrice}.Currency |
| .Number | Shows only the numeric value of the currency fields. This is helpful if you do not want to show currency code (USD) or currency symbol ($) | Currency | {!TotalPrice}.Number |
| .Checkbox | Shows checkbox for Boolean fields | Boolean | {!IsPrivate}.Checkbox |
| .Translate | Translates the field value as per Translation Workbench setting | Text Picklist | {!Status__c}.Translate |
| {!Label.MyCustomLabel} | Custom labels helps create multilingual documents by automatically presenting information in a user’s native language. For more information on Custom Labels, visit this link – https://help.salesforce.com/s/articleView?id=sf.cl_about.htm&type=5 | {!Label.Status} {!Label.ShippingAddress} {!Label.Quote} | |
| {!PageBreak} | Adds page break in PDF. Content after this tag will be shown on new page | Hello World! {!PageBreak} I am on new page! | |
| {!Today}.Date | Shows current date and time in the format selected in the Date Format picklist in Overall Style tab. | {!Today} {!Today}.Date | |
| {!PageNumber} | Shows page number as per the format selected in the Page Number Format picklist in Overall Style tab. | Page No.: {!PageNumber} | |
| {!GoCloudz.Attachment} | Show content dynamically based on business requirement using PDF Attachment feature. Please refer following section for more details on configuration of this feature. Note: It’s called PDF Attachment but it’s not used to attach or embed any PDF into generated PDF. | {!GoCloudz.Attachment1} {!GoCloudz.Attachment2} | |
| {!SignerRole.DocusignTag} | Signer tags specifies where the signer needs to take an action on the document. Applicable only if your Docusign account is integrated with PDF Generator | {Signer1.SignHere} {!Signer1.Title} {!Signer2.DateSigned} |
