
Recipients object stores User, Contact, or Lead to whom the PDF will be emailed or sent for e-signature. While emailing you can also specific how the recipient would get the email – To, CC, or BCC. You can either add recipients manually or automate it.
NOTE – Recipient object is pre-configured for standard Opportunity, Quote, and Order objects. Please edit the page layout if you do not see the Recipients related list. To configure for any other objects, please check last section of this tutorial.
Go to the record, for example Opportunity and click “New” button on “Recipients” related list to add recipient(s) manually.
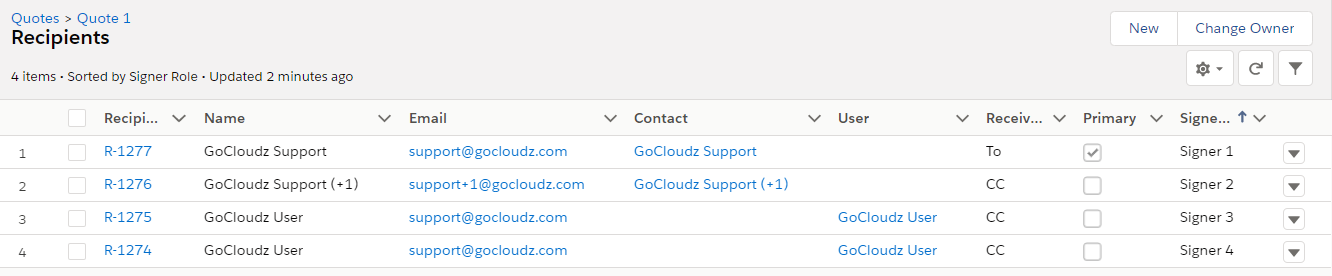
Field Definition –
Quote, Opportunity, and Order: Objects to which this recipient is related to. Please check below section for other objects
Lead, Contact, and User: These are lookup fields to the respective objects. Please select any one of them as recipient
Name: Formula field to show name of the recipient selected above
Email: Formula field to show email of the recipient selected above
Primary: Select this check box to mark the recipient as primary. Primary recipients information will be displayed by default when sending emails using email templates with merge fields
Receive email as: Specify whether this recipient will be in To, CC, or BCC
Signer Role : This field is applicable only when you are using e-signature. It defines the sequence and the area where different signers will sign the document. Corresponding to each signer role, e-signature tags are placed on the PDF template
Check E-Signature section for more information on default recipients, email blurb and Docusign account details.
Recipients can be added manually as shown above but this means less time for the reps for things that matter. Let’s see how recipients can be added automatically when a new record is created. This will not only save time but will ensure documents are sent to the correct recipient(s).
Object Settings
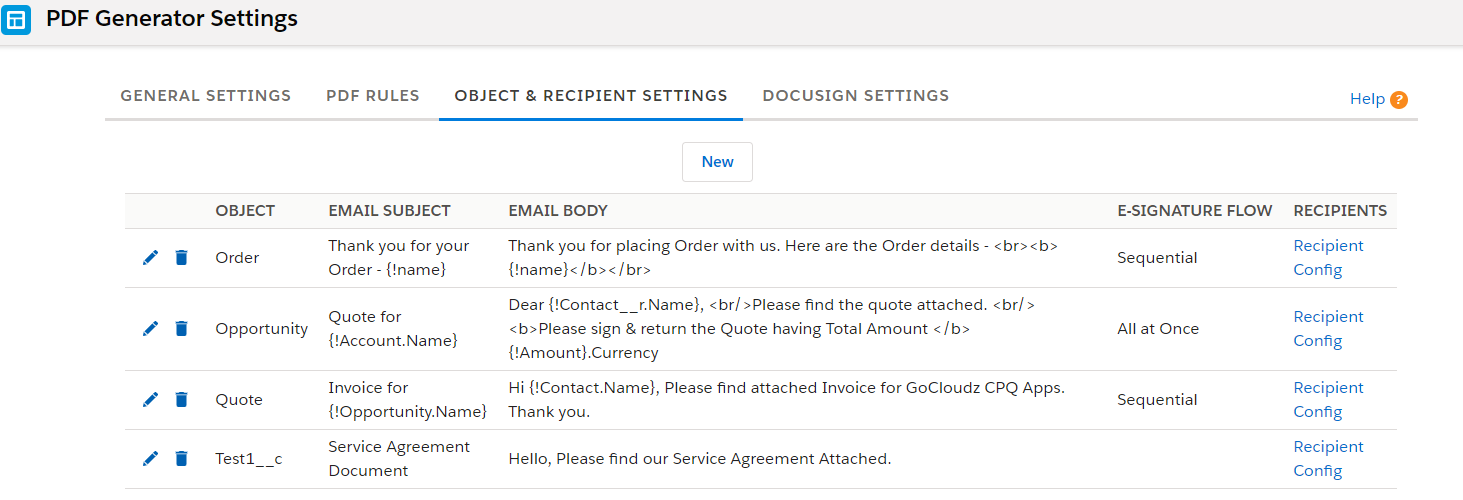
Go to PDF Settings tab >> Object & Recipient Settings to define the object that needs to be configured. If the Object is already defined, you can go to the next step to configure the Recipients.
On the Object Settings, you can define below configuration that is applicable to all the PDFs generated for this object.
Object: The name of the object this setting applies to
Email Subject: Default email subject when PDF is emailed or sent for s-signature. Supports merge fields. Users can override before sending the email
Email Body: Default email body when PDF emailed or sent for s-signature. Supports merge fields. Users can override before sending the email
E-Signature Flow: Define how the PDFs are sent for e-signature to the recipients. It can be either Sequential or All at Once.
Recipients Settings
Go to PDF Settings tab >> Object & Recipient Settings >> Click on “Recipient Config” for specific object as shown above. Click the pencil icon to modify an existing recipient or click new to configure a new one. Recipient can be a Lead, Contact, or User field on existing object or the parent object. For example, standard Contact, Account & Opportunity Owners can selected as Recipients as shown below –
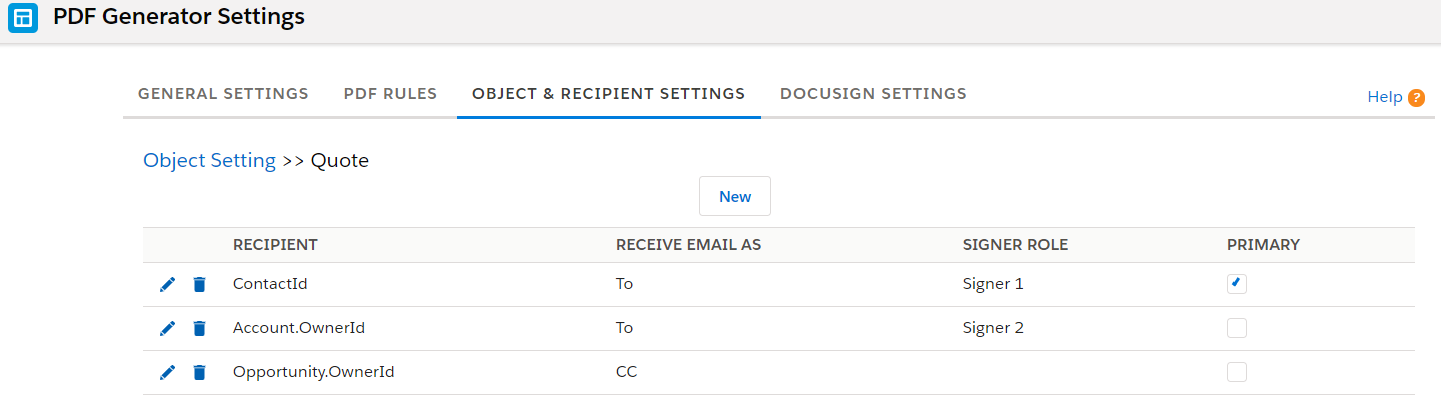
Recipient: The field which represents the recipient. It can be any User, Contact, or Lead lookup field
Receive email as: It can be To, CC, or BCC. Please note following –
Primary: Select Primary to merge this recipient information when emailing the PDF using Email Template
Signer Role: Applicable for e-signature only. Role identifies how the signers will receive the document and where they need to sign, initial, and enter other signer specific information.
Recipient object is pre-configured for standard Quote, Opportunity, and Order objects. Recipients needs to be configured for any other object. Here are the steps to do that –
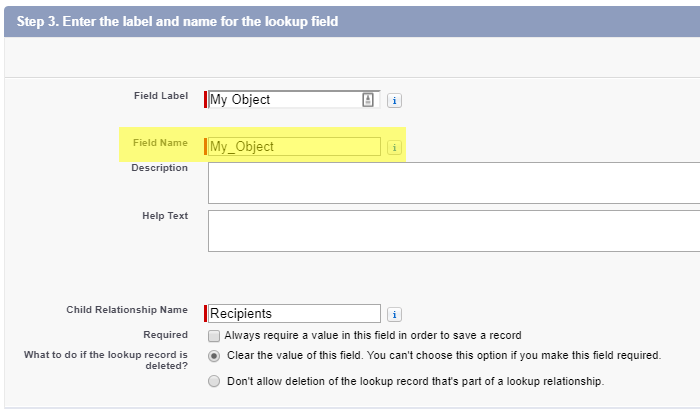
1. Go to Setup >> Objects >> Recipients >> Create a new Custom Lookup field
2. In the “Related To” field select the object the PDF is being created for
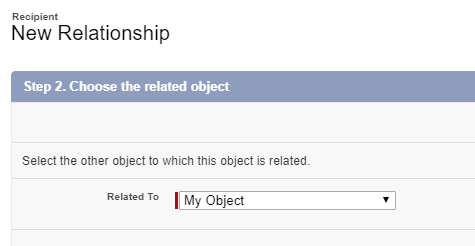
3. API name of the lookup field must match API name of the object. For example, if the API name of the object is My_Object__c, the field name of the lookup field must be My_Object
4. Add Recipients related list by editing My_Object page layout.
5. Follow steps mentioned in the “Recipient Automation” section above to automatically create recipients for this object
6. Finally, create an Apex Trigger similar to below
Note :
trigger CreatePDF on My_Object__c (after insert, after update) {

  if(UserInfo.isCurrentUserLicensed('sfcloud2') && !sfcloud2.QuotePDF_Utility.isTriggerRunning) {

    //Copy default recipients
    sfcloud2.QuotePDF_Utility.copyRecipient('My_Object__c', trigger.new);

    //Create PDF and store as an attachment
    sfcloud2.QuotePDF_Utility.createPDFAndEmail('My_Object__c', trigger.new);
  }
}
Salesforce requires a test class with minimum 75% code coverage to deploy any code to production org. Please see see sample test class below for the above trigger. You will have to modify below test class for it to work with the object you are configuring.
