Once e-signature is configured, users can breeze through when sending the PDFs for e-signature. Following are the steps end user/rep needs to follow in order to send PDF for e-signature and track the status within SFDC –
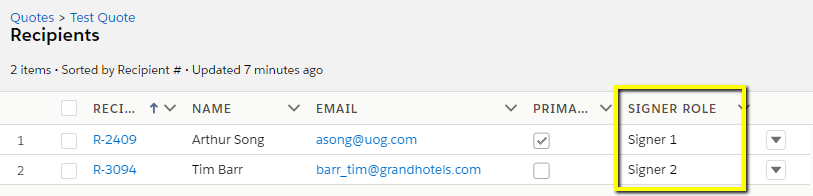
1. Enter details for each recipient. Please see “Recipient” section on how to automate the recipients.
Signer Role: Identifies where the user needs to sign on the PDF and the order in which the document should be received for e-signature. The e-signature tags are stored on the PDF template
2. Click on Create PDF and E-Signature button on the record. Click the down arrow if you do not see the button
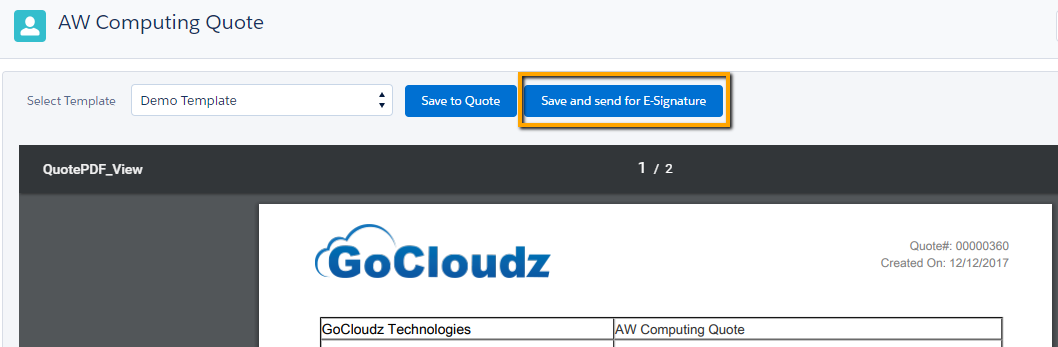
3. User is redirected to the page to select a template and preview the PDF
4. After review, click Save and Send for E-Signature
5. User is presented with a screen to enter the Subject and Body of the email and to verify the signers/recipients. Please see Object Settings. on how to provide default Email Subject and Email Body
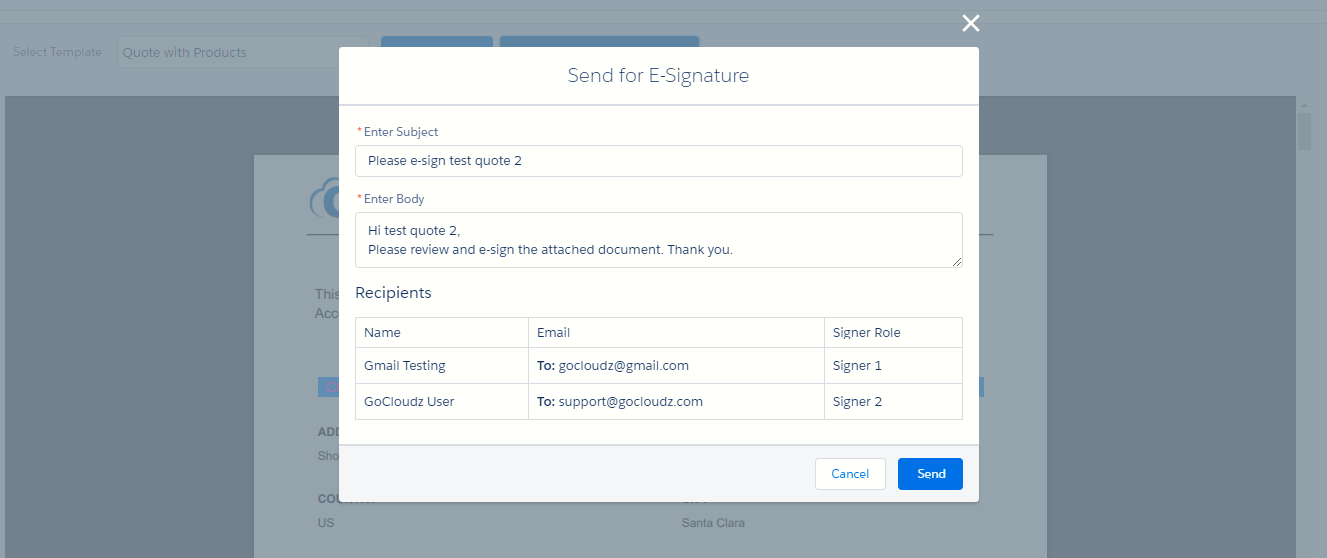
6. Click “Send” to send the PDF to the signers. User will be redirected back to the record
7. PDF is saved under Note & Attachments related list, Recipients will receive an email like below from Docusign
8. Track status in real time using the Docusign Status related list.

Note: You can view document and envelope related information by logging into your Docusign account too.
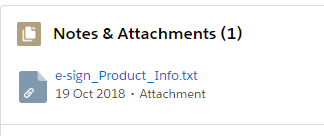
Sometime you may want to attach additional documents along with the PDF for your recipients to review and/or sign. For example, additional T&C, product specific information, etc. You can do that easily by uploading the document to the “Note and Attachments” section of the record. The file name must start with e-sign_. For example “e-sign_Product_Info.txt” in below example.